Forgotten Paths is an upcoming solo print-and-play exploration game by Tabletop for World.
You might remember them from another game we covered in Boardgame Briefs, Hidden Realms: The Mummy’s Tomb; and Forgotten Paths is quite similar to that one, but also very different as well – most importantly, this is a solo game. The Mummy’s Tomb could be played with more than one player, but not Forgotten Paths.
Concept
You play as someone living in the Misty Isle, a strange and dangerous place. As per the name, the island is covered in a thick, supernatural fog which slowly robs the inhabitants of their memories. You, however, are a Mistwalker; for some unknown reason, you can walk through the fog freely, making you and the other Mistwalkers very important for security and communication between the villages.
It’s not just the mist, though – inside it roam packs of mindless undead, who attack anyone they can catch. To protect themselves, the people light massive fires to keep the mist at bay; however, something changes – another Mistwalker named Alton has gone missing after a massive attack of undead at one of the villages, an unprecedented event as they never venture out of the mist.
Thus, you begin a series of 9 missions to uncover what’s going on, stop the undead attacks, and save Alton.
Gameplay
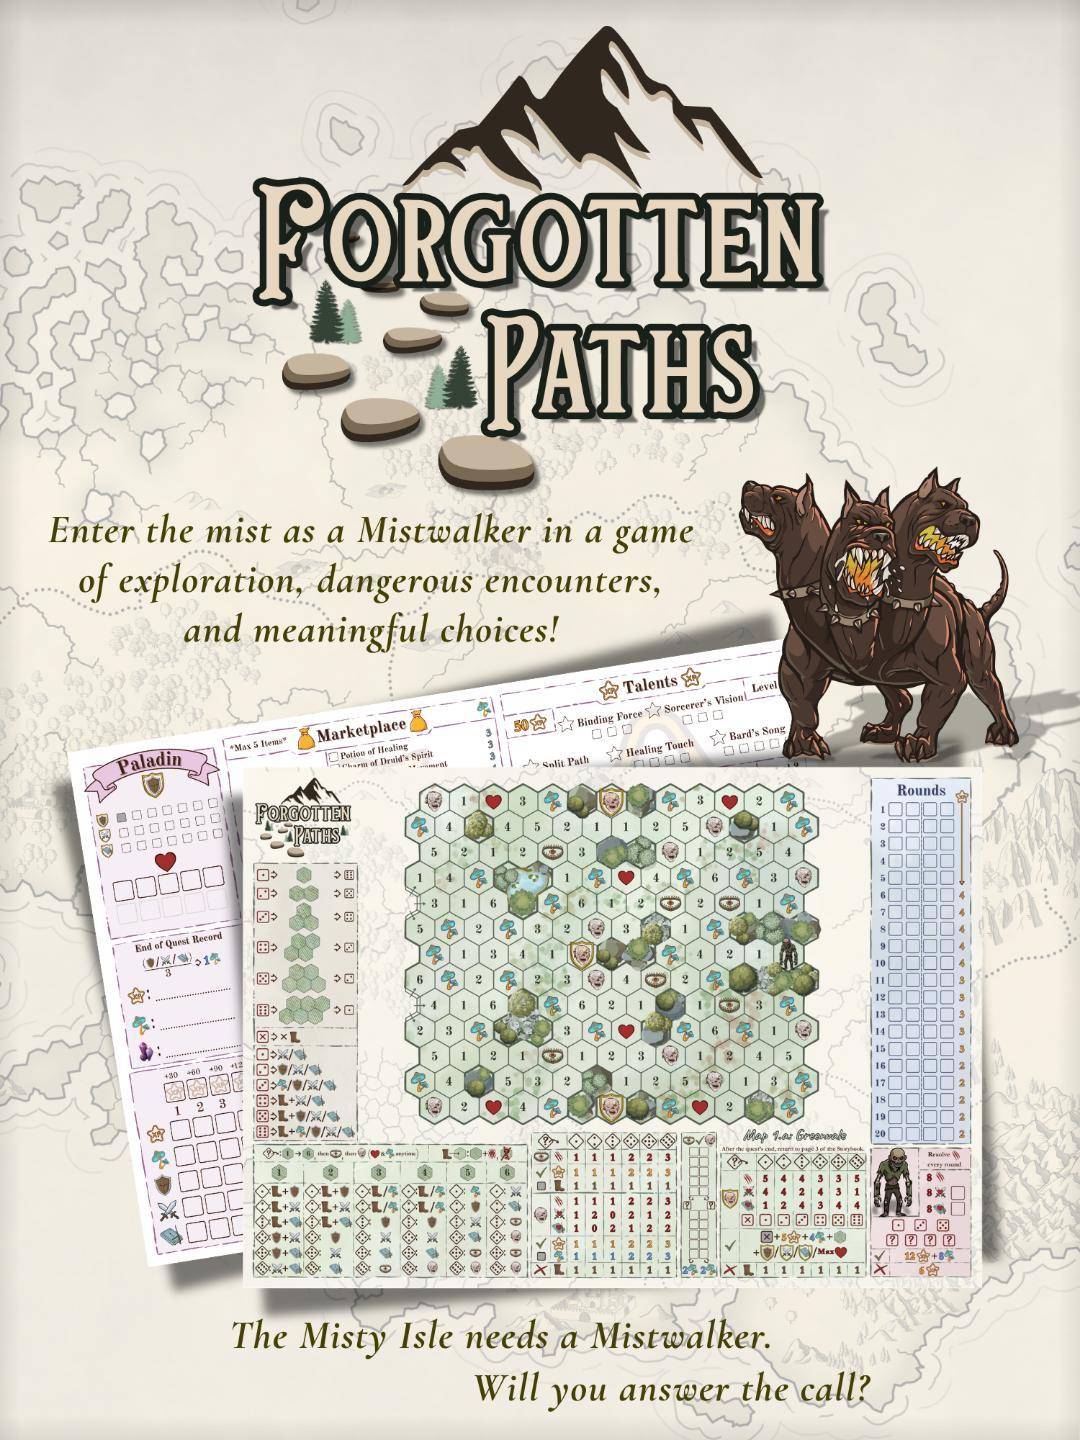
Now let’s get into the actual gameplay as well. Each mission takes place in a 13 by 13 hex map, with the main objective being to defeat a boss. To do that, you have 20 rounds at most – if you haven’t defeated the boss, you don’t exactly lose, but you have to retreat and face different options for the story down the line. You can’t replay the map over and over until you win – you should continue your campaign, and try harder on your next run!
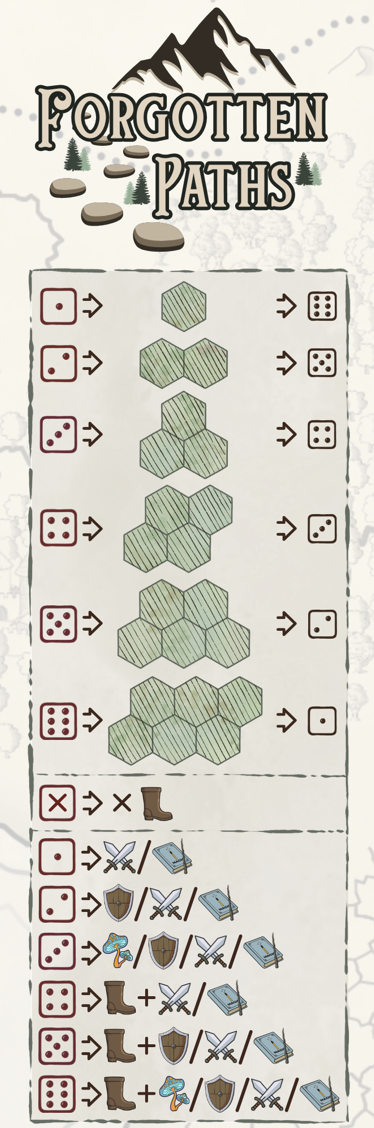
In order to get to the boss and defeat it, you need to reveal and travel through the map tiles. Each round, you roll two dice – 6-sided, always – and note their results in a table. You can roll up to 2 more dice per turn by spending Lethebane, a resource you find and loot around the map, and you can also use it to increase or decrease a roll by 1. You can use these rolls to place collections of tiles in various shapes, “exploring” the map tiles that you place them on, with some placement rules: you can’t put them on already explored tiles, outside the map, or on a blocked tile, and you must also place at least one tile of the shape next to your character’s tile. When you have placed a shape, you then resolve its tiles; this means fighting monsters, disarming traps, or gaining resources – with a bit more dice rolling first to determine what type of enemy, trap, or resource. In particular, most of the tiles instead of having a specific resource or enemy have a number from 1 to 6 – each number has its own roll table, with the lower numbers giving resources and the higher ones having the chance for enemy encounters as well. You can also use the rolls to gain resources directly, as well as to move up to X tiles, where X is the roll.
Speaking of combat and resources: Your character has several resources they accumulate. Three of them in particular are used in combat: Defense, Physical Damage, and Magical Damage. Each enemy has 2 “health bars”, one for physical and one for magical damage; you need to spend enough of both types to defeat them. They also deal damage, which you can reduce by spending Defense – any damage that isn’t blocked by Defense hits your Health instead. When you drop to 0 Health, you don’t die, but you lose your entire next round – you recover back to full HP after, but it brings you closer to the 20-round limit. Most enemies are also all-or-nothing, you either defeat them in the turn you encounter them or you don’t. Traps are simpler than enemies; they deal a bit of damage, and if you block all of it, they are considered disarmed and give you a reward.
Each map also has several mini-bosses. These are optional, but if you defeat them, you weaken the final boss – making that fight a lot easier. Mini-bosses have their own damage, physical health, and magical health, just like all the normal enemies, but they also require you to spend a roll of a particular number to defeat them – so make sure you have enough rolls or lethebane to get the needed number. When you defeat them, you also get a powerful bonus for the rest of the mission; you can choose between 1 Passive Defense, Physical Damage, or Magical Damage – which means that at any point where you need to spend any of those, you get 1 for free. As for final bosses, they are a bit different; you can fight them over multiple rounds, but they deal their damage each round. To defeat them, you also need to spend rolls; however, for each miniboss you defeat, you can remove one such roll from the boss. Minibosses are particularly important to defeat, because many bosses require more than 4 rolls – meaning you’ll be forced to fight them for a second turn even if you use lethebane for additional rolls if you haven’t killed ALL minibosses.
When you finish a map, you open up the Storybook to see how to proceed. As I mentioned, there is a story/campaign; whether you defeat the boss of a mission or not may affect the next ones, and there are some choices you can make outside the mission maps that also give a small bonus and penalty – starting with some dice rolls ready but losing Health, or starting with some enemies defeated but losing the ability to have bonus rolls in the first round, etc. You also have 2 choices for each mission, for 18 maps total, each having unique mechanics that change your approach and force you to think and adapt. After the missions, you can spend any leftover Lethebane to buy one-use items, and XP (gained by defeating enemies and disarming traps) to buy Talents – abilities with limited uses per mission, for example letting you increase or decrease a roll, move 1 or 2 tiles, et cetera.
Finally, something that I didn’t mention so far is that at the beginning of the game you also choose a character class. I start with the recommended Paladin, which gains 1 Passive Defense but there are also a Fighter and Wizard, each having a different playstyle which, combined with the mission choice, encourages you to go back and play the campaign again to try new things.
Strategy
I can’t speak with much authority on what the best strategy is – I’ve played several maps, but while I’ve so far managed to defeat each boss, it’s gotten kinda close at times, and I haven’t finished the campaign yet. It certainly requires a lot of thought; the first couple of missions are straightforward, but after that you need to plan a bit ahead. For example, one of the options for the third mission relies on stealth, encouraging you to move just one tile at a time or face more enemies, while the other option is the opposite; to unlock minibosses, you need to defeat a certain number of enemies, so you need to run around and be aggressive quickly. Also, as I mentioned, I’m currently playing with the Paladin, which is perhaps the strongest class and thus the one to use for starting out. Other classes have their own strategies that they are more suited for.
However, there is still some general advice that I think fits everyone. In particular, I follow a tactic I also used in The Mummy’s Tomb – every single round, I fill the table with rolls. You get 2 each turn for free, then you get another roll when you place a shape for the first time (so your first couple of turns you get more free rolls), and then you spend 4 Lethebane to roll twice more. Yes, Lethebane is a “meta-currency” as well that you use for items between missions, but the more rolls you have, the more tiles you explore and enemies you get to fight, which give you back more Lethebane.
Another tactic I use is that for movement, I rarely use the rolls I have. Many numbered tiles will give you 1 point of Movement on certain rolls, and as you can see on the table I have a bit above, you can use a roll of 4+ to have 1 Movement plus another resource. Since you move somewhat slowly to reveal tiles next to you, there’s no need to spend a 4 or 5 for that much Movement; unless you need to double back somewhere, it’s more efficient to move 1-by-1, revealing tiles and relying on their rolls for extra movement.
I also go for all minibosses every time, to weaken the final boss enough to be able to defeat it in one turn. So far it’s worked, but we’ll see how things go later.
Final Thoughts
I really enjoyed The Mummy’s Tomb, and for a time I would play it almost every day, trying to streamline my paths and reach high scores. Forgotten Paths is really fun as well, and as I mentioned, you can obviously see the similarities, but it’s also a completely different game. In one sense, it is easier, because you don’t have to align openings and walls and paths and think of space that way, since the tiles connect in all points, but the addition of more resources to manage and puzzles to solve, as well as the meta-progression element of XP and items, gives you a lot more to think about. The inclusion of a story also brings a lot more tension, since actually defeating the boss of each map isn’t just a way to hit a new high score but a vital part of your quest. I also expect more stuff to be added; for example, there are 6 more character class options as part of the Gamefound Stretch Goal, with more unique mechanics, and of course rules may change depending on the feedback players give. Personally, so far I’ve enjoyed it immensely – it’s pretty easy to play, and just like The Mummy’s Tomb, I have also managed to play it on my laptop; opening up the maps in Paint and keeping track of my resources in a Notepad file is a bit unwieldy, but I made it work, and it would be even easier if my mouse didn’t break forcing me to rely on the laptop mousepad.
I very strongly recommend you check out Forgotten Paths and follow the GameFound campaign by Tabletop for World!
Join Our Mailing List
Do want…
- Extra content?
- Discounts?
- Updates about all our work?

